First Setup
Complete basic setup and start using Rodel Reader
When launching Rodel Reader for the first time, you need to complete library configuration before entering the main interface.
Step 1: Choose Library
The welcome page appears on first launch, where you need to select a library directory:
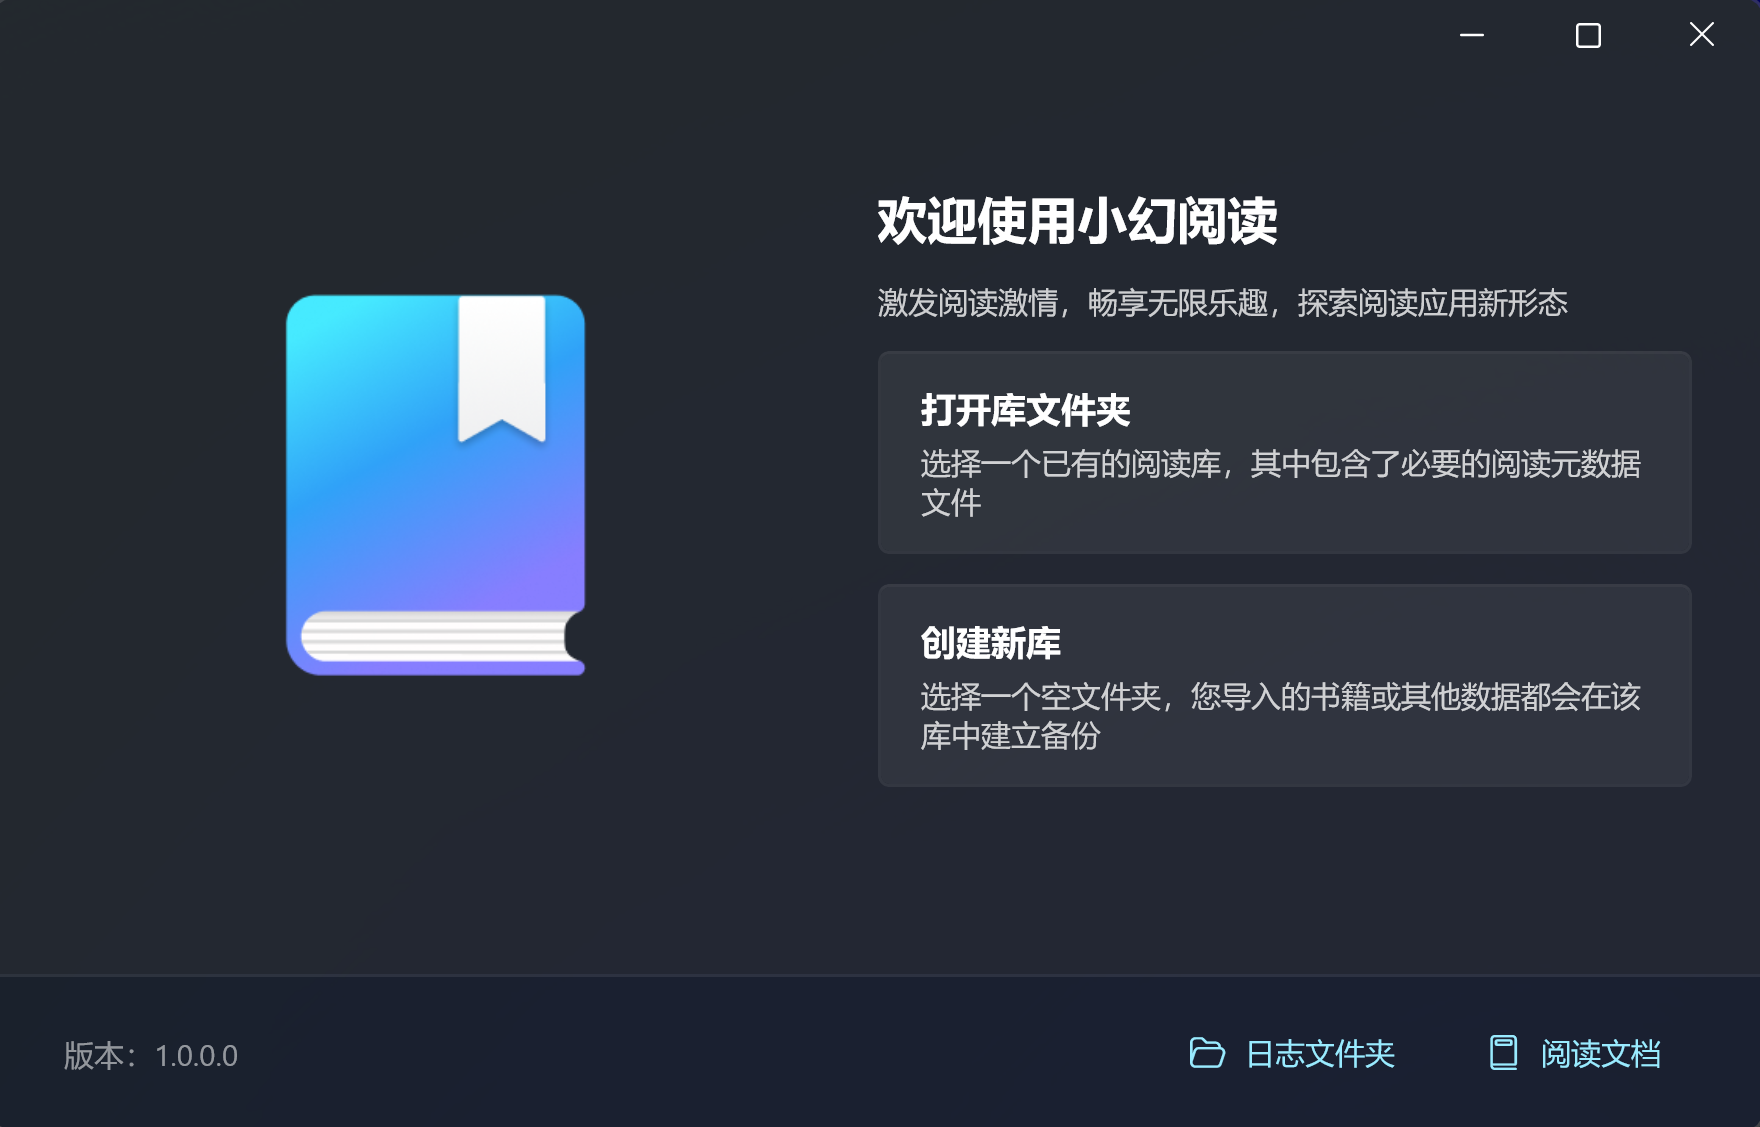
| Option | Description |
|---|---|
| Open Existing Library | Select an existing library directory (must contain registry.db file) |
| Create New Library | Select an empty folder as a new library |
Note
- When opening an existing library, the directory must contain a valid
registry.dbfile - When creating a new library, the selected folder must be empty
Step 2: Create First Service
After library configuration, if it's a new library (or the library has no services), a service selection dialog appears:
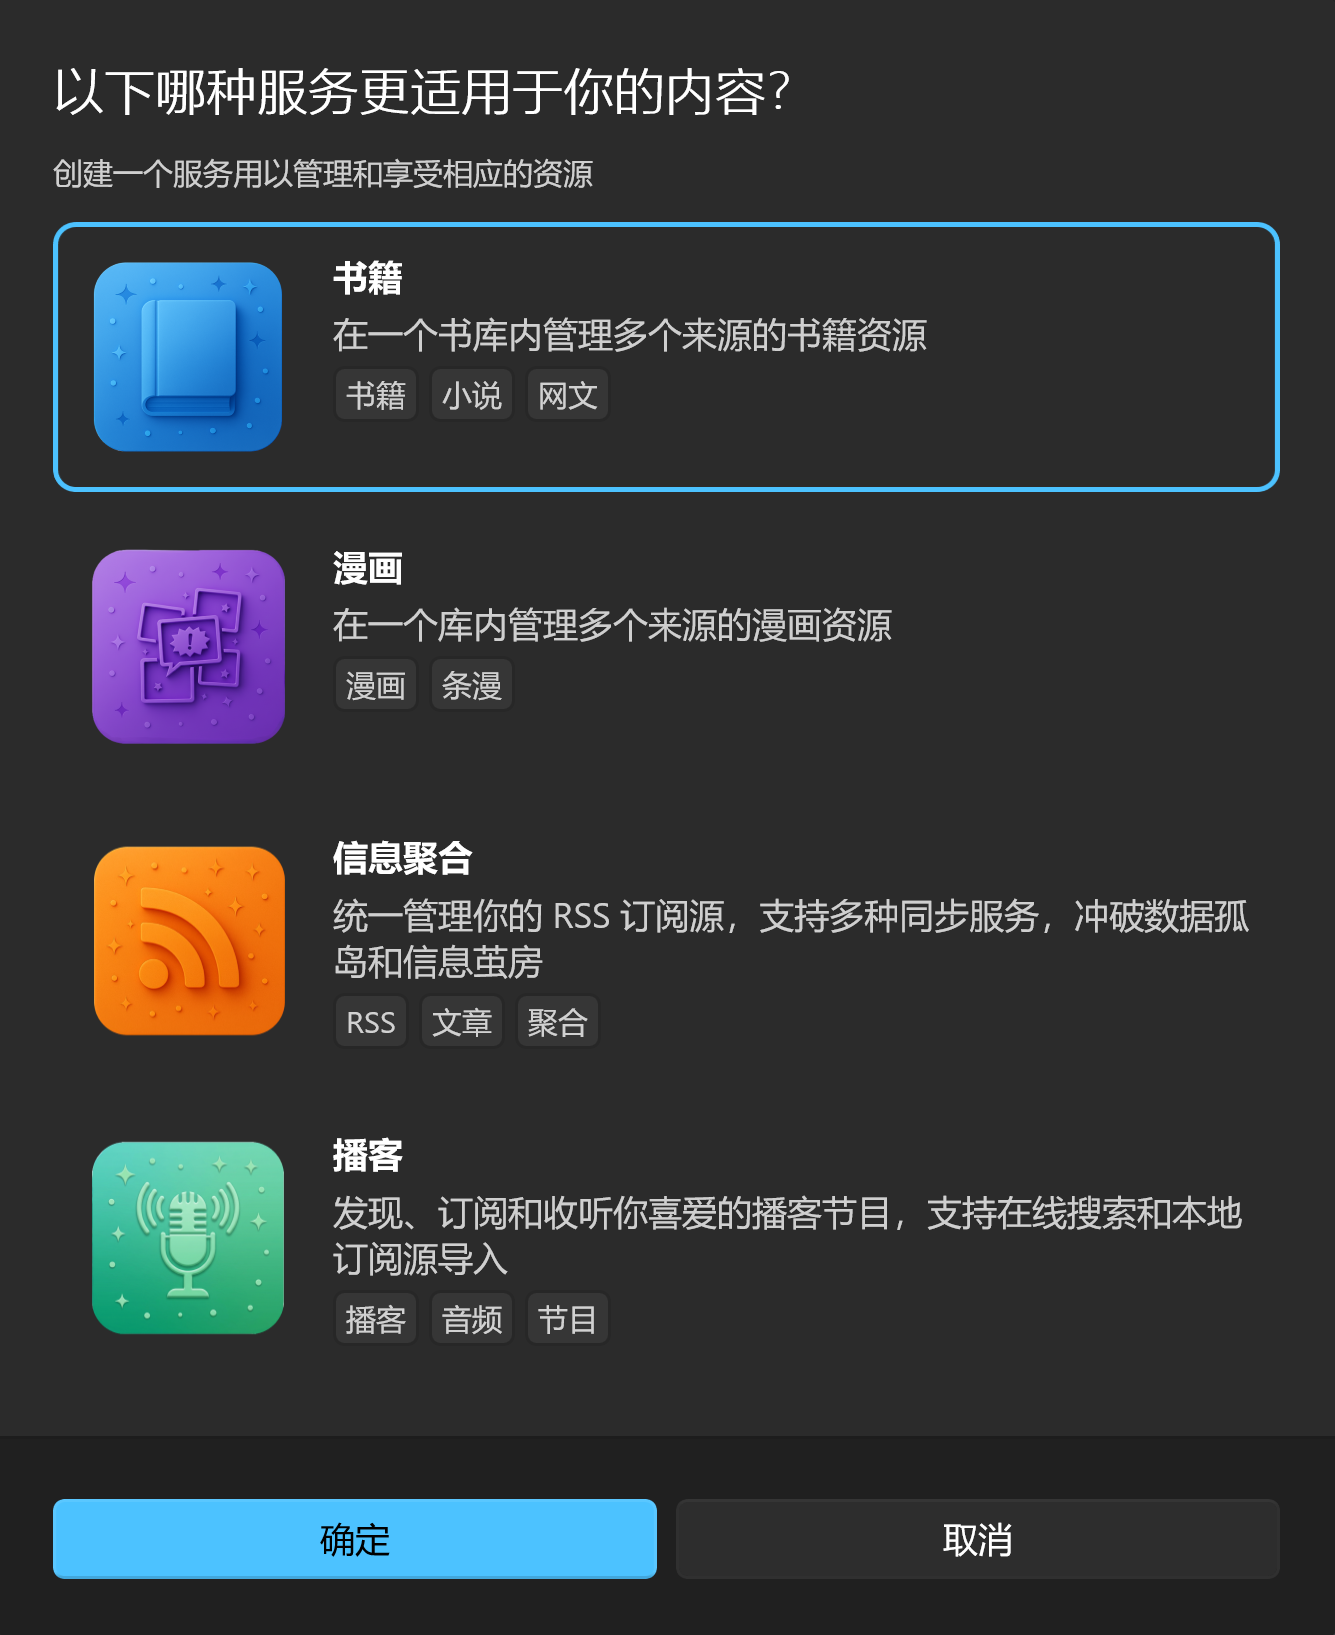
Rodel Reader supports four service types:
| Service | Supported Formats | Use Cases |
|---|---|---|
| Books | EPUB, PDF, Mobi, FB2, TXT, etc. | E-book reading and management |
| Comics | CBZ, CBR, ZIP, image folders | Comic reading and management |
| Aggregator | RSS, Atom | Feed management and reading |
| Podcasts | Podcast RSS | Podcast subscription and listening |
Select your most frequently used service type and click confirm.
Step 3: Name the Service
Enter a name for the newly created service:

The service name is used to distinguish different service instances in the sidebar. You can name it based on purpose, for example:
- "Tech Books", "Novels"
- "Japanese Comics", "American Comics"
- "Tech News", "News Feeds"
After completing these steps, you'll enter the main interface and can start using Rodel Reader.
Library Directory Structure
After library creation, the following structure is automatically generated:
Library Directory/
├── registry.db              # Service registry (core file)
├── secrets.db               # Secret storage (API credentials, etc.)
├── Books/
│   └── <ServiceID>/
│       ├── books.db         # Book metadata
│       ├── covers/          # Cover images
│       └── files/           # Book files
├── Mangas/
│   └── <ServiceID>/
│       ├── mangas.db        # Comic metadata
│       ├── covers/          # Cover images
│       └── files/           # Comic files
└── Aggregator/
    └── <ServiceID>/
        ├── registry.db      # Data source registry
        └── datasources/     # Storage for each data source
Tip
- Books and Comics services each have independent storage directories
- Aggregator and Podcasts services share the
Aggregatordirectory, managed by the same storage provider - Each service instance has its own subdirectory, data is isolated
Adding More Services
After initial setup, you can add more services at any time:
- Click the service switcher in the sidebar header
- Click the Add button at the bottom of the service list
- Select service type and name it
Switching Libraries
If you need to switch to another library (or reselect library directory):
- Go to Settings → Storage
- Click Switch Library
- The app will return to the startup page to reselect library
Next Steps
After configuration, continue reading the corresponding module documentation based on the service type you created:
- Books Module - E-book management and reading
- Comics Module - Comic management and reading
- RSS Module - Feed management
- Podcasts Module - Podcast subscription and listening